When you click on links to various merchants on this site and make a purchase, this can result in this site earning a commission. Affiliate programs and affiliations include, but are not limited to, the eBay Partner Network.
JK Show & TellWhether they're just poser shots in your driveway or hardcore action shots on the trail, if you've got photos or videos of your Jeep JK Wrangler (or any JK for that matter that you think is worth showing off, inside or out), we want to see them so please post them here! Likewise, if you are wanting to see a photo of something specific like an aftermarket JK part or poser shot with a specific setup, this is the place to ask for it.
I stuffed the end of the axle tube with rags. I've never thought about covering the axle shaft, but I do clean them thoroughly before they go back in. The bolt came out without too much fuss really. I put some pressure on with the ball joist press and gave it a little tap with the lump hammer. That was enough to break it loose, the press did the work the rest of the way.
I got the starter, clutch, clutch master and slave swapped out today. I also figured this was the time to do the fuel pump, with everything out is was just too "easy" to.....
And because I'm so proud of myself, here's a good size reference for the new arms
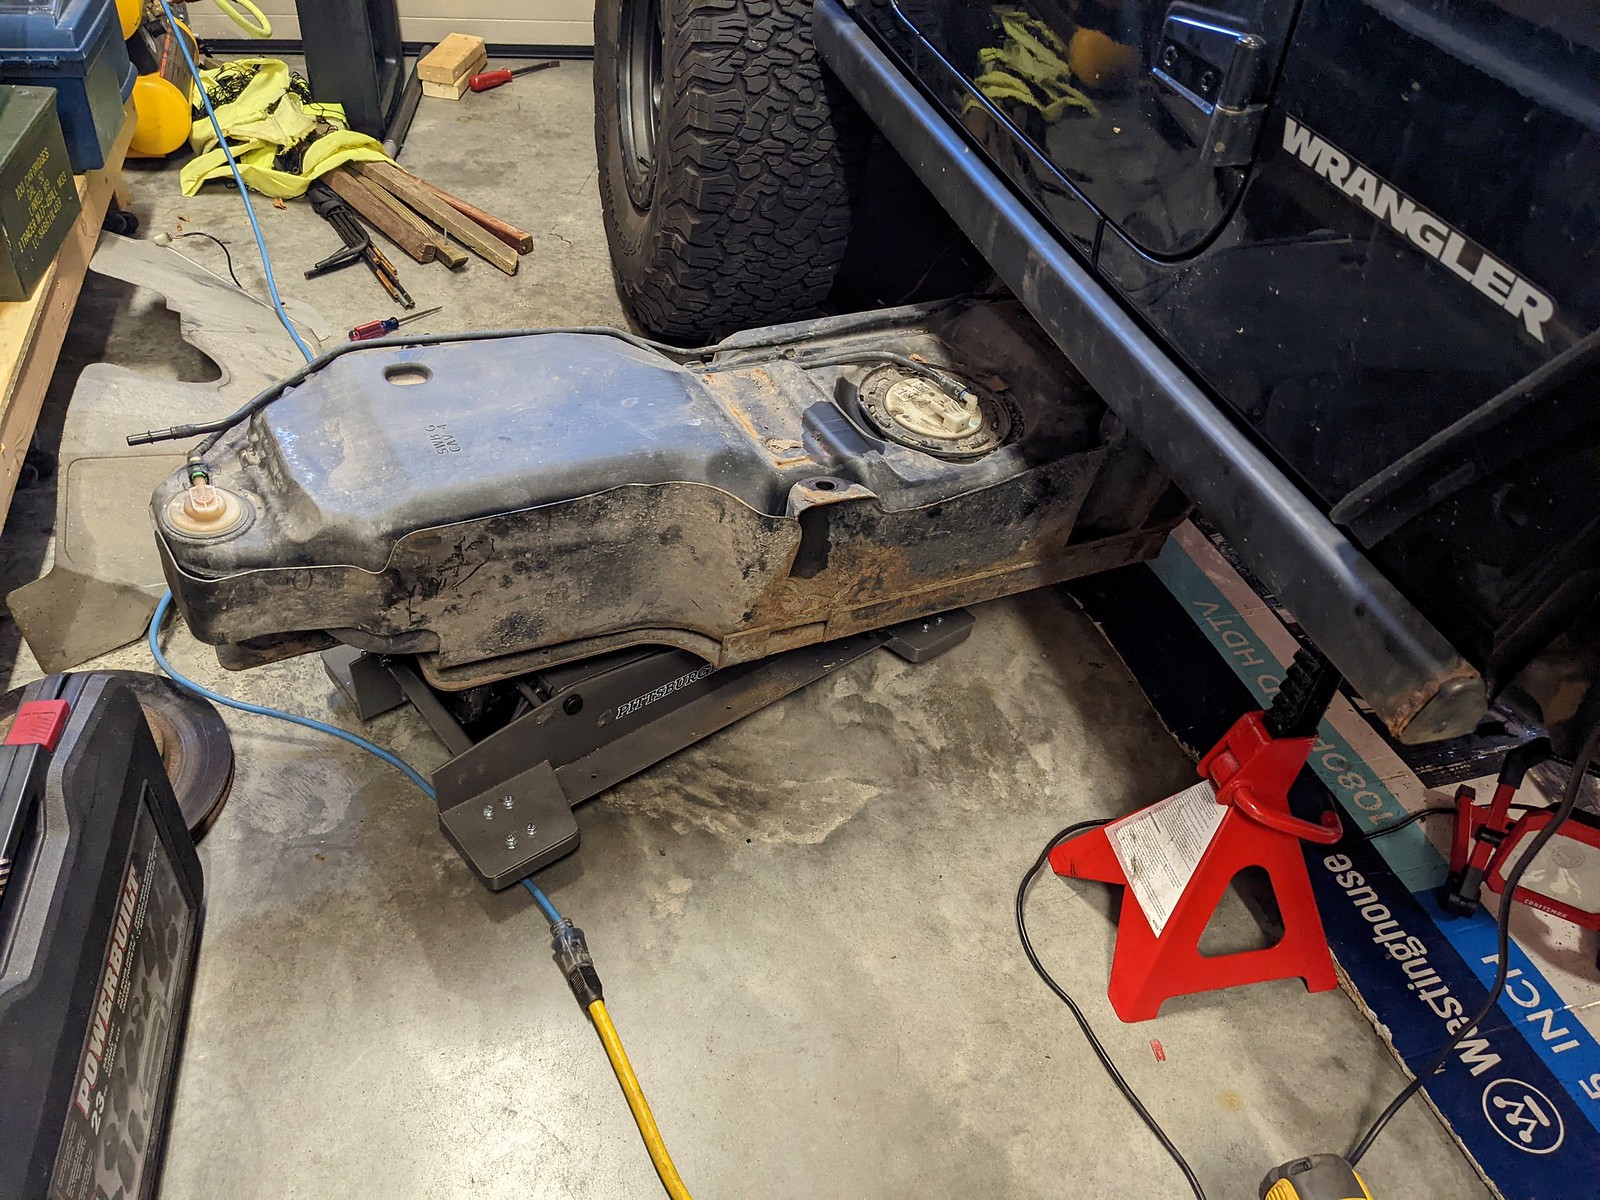
Well, my recent mods were pretty modest. They consisted of adding a 2" receiver hitch to the front of my 2-door JK, wiring a 50 amp Anderson connector next to it, then finding that I needed more power, so I ran heavier wire & installed a 175 amp Anderson connector.
It turns out that Reese makes two different hitches for the front of a JK. The one I got mounts to the inside of the frame rails & is probably the more difficult one to mount. It is probably also the one that is a little less easy to see. It has a limited depth for inserting a hitch, as the back of the 2" ID square tube welds against another piece of steel. It is not open at the back. Prices for the two different hitches are about the same. Straight pull rating is 3,500 pounds on mine & probably the same on the other, but I'm not certain about that. There are no holes to attach safety chains on mine, but there is a place to drill some if you want to. I plan to use that front hitch for parking trailers in tight places & also for mounting a small winch, when needed. The winch is one reason for the Anderson connectors. In order to install the hitch, I had to remove the plastic air dam. It's possible to cut a hole in the air dam & then put it back on, but I opted to just leave it off.
At first I mounted a little SB50 Anderson connector, wired through a breaker then directly to the battery, using copper AWG #6 wire. That worked fine for a little 4.500# winch, but much to my surprise, my "Thor's Lightening" high volume tire inflating double-head air pump wasn't at all happy running off of it. I then ran AWG #0 (1/0) copper from the battery, through a breaker, then to a SB175 Anderson connector, that I mounted on the other side of the receiver. I also ran a #0 copper ground directly from the battery to the SB175. They are the heaviest wires on the whole Jeep. I made an adapter to go from SB175 to SB50 & used that for Thor's Lightening. It ran fine with that rig. I was a little surprised to find that the cables that came with the winch were aluminum #6. They get a little warmer than warm under heavy load.
Since I had all that power wired up to a convenient spot on the front of the Jeep, I also put an SB175 connector on a set of long, AWG #4 jumper cables. Again to my surprise, it seems that most all jumper cables these days are made with aluminum wire. If I had realized that everything I was connecting to was aluminum, I probably would have just run copper clad aluminum for my install wiring, rather than the heavier & more expensive pure copper that I already had on the shelf at my shop.
Jump starts should now be very convenient.
Airing up the tires after a day in the sand should be convenient. Thor takes a 31" tire from 15psi to 35psi in about a minute. I just plug it into heavy power next to the hitch, put the chuck on the tire & hit the start button. It stops at a preset pressure & it's pretty accurate.
Using the little winch is pretty convenient. The entire winch with hitch mount only weighs about 35 pounds and it's pretty small. It was able to pull the Jeep across concrete while the Jeep was shut off & in first gear, with the transfer case in 2H. For the little foolishness that I do, that should be plenty strong enough. Most of the time, I just need to be able to pull myself up a slippery boat ramp. If I ever upgrade to a real man's winch, I'll probably plug it into the bigger SB175. The little winch mounts to the rear receiver hitch as easily as it mounts to the front, which opens some options for me. In the rear position, I can power it from my jumper cables. Since I don't plan to use it in the back very often, I will probably not mount another Anderson connector in the rear. ...unless I get an electric winch for my boat trailer.
...Oh yea, and I also got new tire pressure sensors installed. That last little yellow light on the dash finally went out. I finally have no errors displayed.
My 1997 TJ Sahara finally expired and I sold it for parts. In its place, I purchased a 2010 JK Rubicon to replace it. My first mods were minor security upgrades. I installed a locking gas door and a hood lock. I used the hood lock from Bolt that you code to your Jeep key. It is seriously "heavy duty" and has an excellent weather cover. Lastly I added a locking lug nut to each of the five wheels. While doing the lug nuts, I also used some anti-seize compound for each wheel lug.
At 300,000 miles, it was time for a new motor in my 2007 JK. I dropped it off a couple months ago at my mechanic who does the heavy lifting (at 75 years myself, it's gotten a bit difficult for me to do tasks that require breaking loose or torquing tighter fasteners). I gave him a long list of other things to take care of, including replacing the crappy loom on the wiring harness with quality loom products that I've used for my aftermarket electrical work (having a manual transmission, the only wiring harnesses I could find to replace it were used). replacing the transmission shifter and the transfer case cable, replacing the hoses (except he did not want to mess with the heater hoses; can't say as I blame him), replace the clutch and associated parts, and repair a cracking weld on the Shrockworks jerry can rack. He's had it a while now (I've been using the Gladiator for my overlanding adventures meanwhile, so told him to take his time), but called me this past week to let me know that most of the work is done, but he needed the keys to my jerry can rack so he could remove the cans before doing the welding. So, hopeful that I'll have it soon. Don't have a lot of photos, but here is one dropping it off, and another of the reman motor from Jasper ... Dropping off the Wrangler at Tim's shop. Mileage at drop-off. Tim with the new Jasper motor. Couple weeks ago, running the newly created West East Idaho Overland Route (WEIOR) in my Gladiator. I sure do miss the Wrangler, which is much better set up for camp life (fridge, 120 volts, etc).
I took my 2010 JK Rubicon to Krown this morning and had it rust-proofed. My "new" Rubi originally came from Nevada and had very little rust when I bought it earlier this month. Now that it's a Michigan Jeep, it will see year-round use as my primary vehicle. And that means snow, salt and ice. A penetrating lubricant that's resilient and displaces water seemed like the best choice for a 14-year-old Jeep with light rust in hidden places. I plan to take it back to Krown annually for a fresh coat.
In the future Krown will coat my Rubi in the spring. I thought springtime coating was a crazy idea when they first suggested it. My intuition tells me that spraying in the autumn would be best so you have a fresh coat before exposure to winter salt. And Krown will do that if I insisted. But they claim that oxidation slows at cold winter temperatures in spite of the salt. That's why spring and summer are the worst time for rust---because of the warmer temperature. The Krown shop I went to is owned by a husband and wife team. The lady is the daughter of the first guy to open a Krown shop in the U.S. According to her, he used to take all their family vehicles to Canada once a year to have them sprayed at Krown. Eventually he opened his own Krown shop in the U.S. The daughter grew up working in the shop. Together, their family has many years of experience. That's why I'm taking her advice on this.
I'm glad that I'm not having to do it myself. I tried spraying my old 1997 TJ annually for three years with used motor oil after I discovered severe rust in the frame (the skid plate fell off). But it didn't seem to slow the rust at all. I think the used motor oil was a bad idea because it doesn't penetrate like the purpose-made products for rust prevention. And it was a giant mess to do. I realize there are some fine rust-prevention products today of various kinds from paints to coatings to oils to waxes. But I'm retired now and, at my age, I don't want to have to mess with it myself. Besides, some of the good products are expensive enough that having Krown do it for me doesn't cost much more.
So, this week to my 2010 JK Rubi got her very first rust-prevention treatment.
all in the last 3 weeks... picked up a used 2015 JKU a few weeks back with 37K miles... the price was right... already had M/T wheels and 35 Nittos and a 2.5 Teraflex lift... but it was all over the road and 10 year old tires were had and bumpy... seals were gone out of the front shocks and the damper... so first I put new adjustable mammoth/Jeep dampers all around... big improvement... fixed the damn passenger low beam... installed a Mile Marker 12K winch... had to fab a fairlead bracket... installed a redrock stainless dual outlet turbo muffler... installed Teraflex D60 Lockout hubs on the the front and full floating axle hubs on the rear... switched to procomp 1069's 17x9 -6 8 on 6.5 and M/T 35x12.50-17 Baja Legend EXP's changed the diff fluids, trans fluid xfer case, new bendix brake pads and flushed the brake fluid ... Installed a set of geriatric handles so I can get in and out... and wala it rides smooth and the tires are quiet just enough growl outta the exhaust so you can hear when to shift... oh and the Teraflex big brakes with the stock calipers improved the braking dramatically... replaced the driver sun visor and put a repair kit on the passenger side... couple things left to do... waiting for a new ABS sensor for the right front wheel as even as careful as i was the cable was dry rotted and the wires were florida brown corroded inside... chasing the Gascap EVAP small leak code, smoke tester on the way... oh and i have a set of Teraflex sport bars lower front and upper rear on the way mostly to correct the front camber as its just over the line on not enough caster on the front and wanders just a bit... besides Blond Beach Barbie is used to driving her Camaro SS and after 50 years I know she wont drive the jeep unless it handles... Oh i forgot the original left front u joint was very very sloppy and the right front fell apart on removal, and both rear wheel bearings were slightly blued and very notchy after 37000 miles (heavy 35" tires??)... Teraflex kit replaced all of these components...
Last edited by 84rzv500r; Mar 31, 2025 at 06:04 AM.
Reason: add info
Negative, I'm making it up as I go. The RK arms are 2" so I know these will fit. I bought 316 stainless specifically so I don't have to paint or plate or powdercoat the arms and never worry about rust. If I welded in bungs they would have to be coated and that would defeat the purpose. This way the joints thread right into the arms, which I can pack with anti seize, and I'm good to go. I had them cut to length to keep about 2-3" of thread engagement on each end which has to be sufficient, even with the stainless. It also afforded me the opportunity to do each arm with a right and left hand threaded joint so I can install the arms and turnbuckle them to adjust length. There will be wrench flats milled on each to turn the bars and to help tighten the jam nuts.
thats exactly the way I built the rear control arms for my custom rear suspension for my corvette I used A513 Precision DOM 1" OD and 0.5" ID bored out and tapped for 5/8-18 Left and right and milled a couple of wrench flats ... stronger at the cost of a little weight and while for other things i used chrome molly and welded in bungs... for the main suspension members i went the that aint gonna break way