Jeep Wrangler JK: How to Install Auxiliary Fuse Box
Adding a secondary fuse box to handle all your newly added accessories gives a nice clean look under the hood and is a cinch to install.
This article applies to the Jeep Wrangler JK (2007-Present).
Adding a secondary fuse box is an excellent DIY job for someone needing to clean up their engine compartment from all the other mods they've installed. If you are like many other Wrangler owners, you've undoubtedly either dreamed of adding a fog light bar or have done it already. Throw in a CB radio, laptop port, LCD monitor, refrigerator as well as a power winch and you've quickly gotten yourself a rats nest of wires under the hood. With all those new goodies, you may find yourself with power surges and dead batteries. Protect your investment while at the same time cleaning up your engine compartment by installing an auxiliary fuse box. This is a very time consuming DIY job, but one that you can easily tackle if you can give yourself the time to do it. This will save you quite a bundle from taking your Jeep to a pro to have it done for you. You'll only need a basic understanding of circuitry to do a high quality job that you'll be proud of.

Materials Needed
- Fuse block
- Waterproof box for the fuse block
- 70A circuit breaker (optional but advisable)
- 75A relay (optional)
- Wire cutting and splicing tools
- Electrical tape
- Screwdrivers
Step 1 – Assemble fuse box in the housing
It will be easier to mount the new fuse panel into the housing before mounting the unit in the engine compartment if you are planning on this type of install. Putting the fuse panel inside another box is by far the safest method to prevent dust, dirt and moisture from getting into the fuses themselves. The drawback is that a lot of bulk is added this way and finding a place to put it all can be tricky.
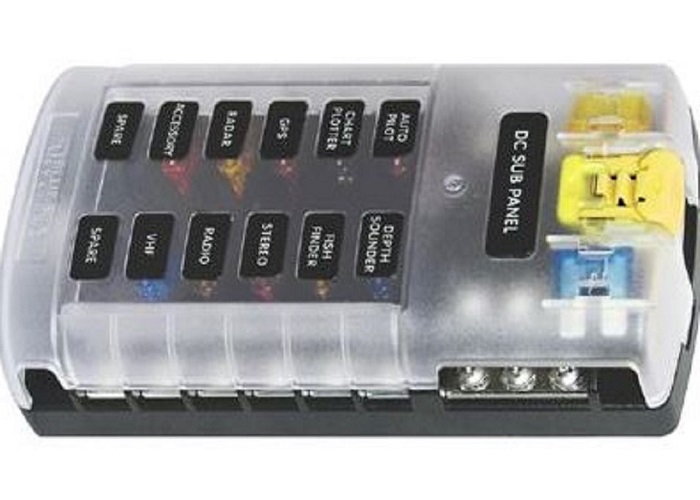
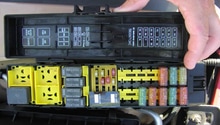
Figure 1. This is a waterproof fuse block rated for 100A, which will work nicely for this mod. 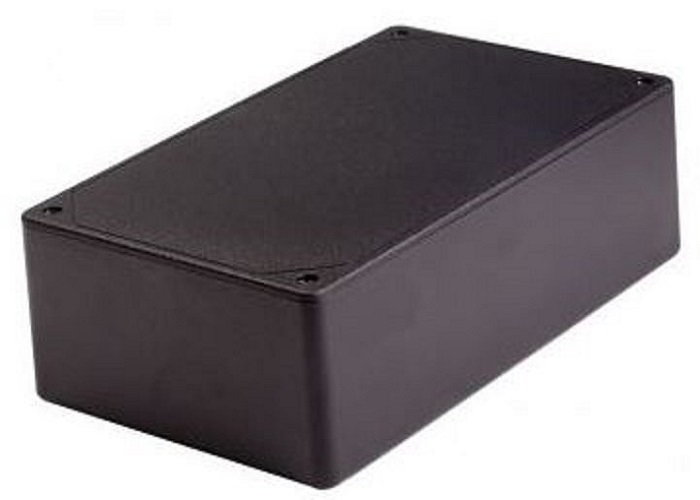
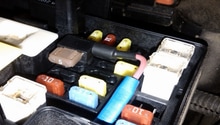
Figure 2. The fuse block can be mounted inside a box such as this, or you can modify something like a small tackle box for the job. 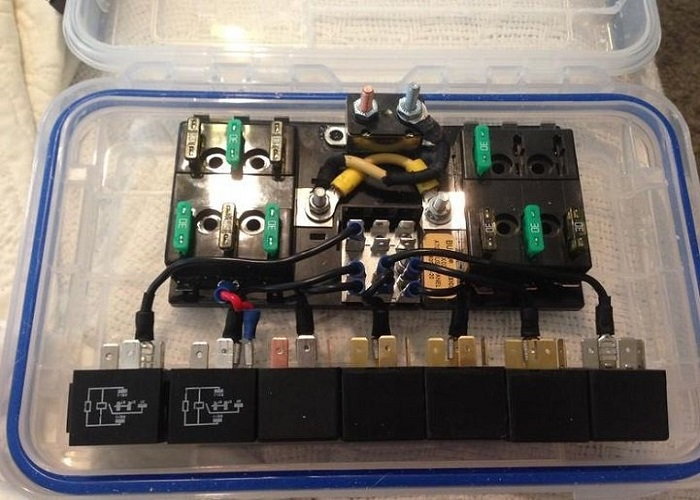
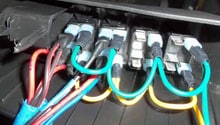
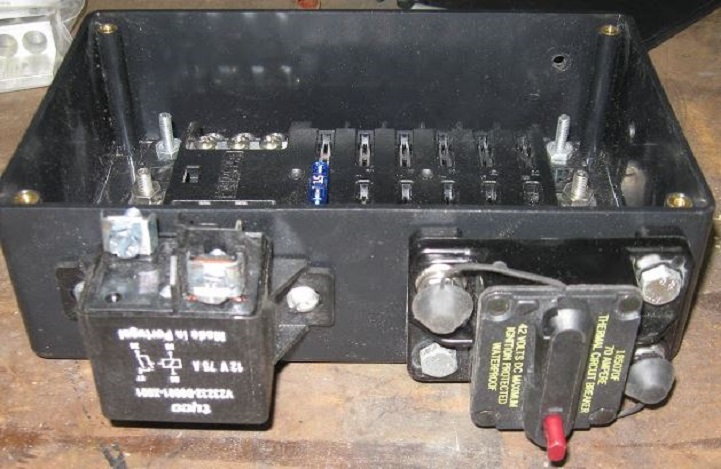
Figure 3. Alternatively, you can use a tackle box, fuse box and multiple relays as your secondary fuse box and block.
Step 2 – Locate spot under hood to mount assembly
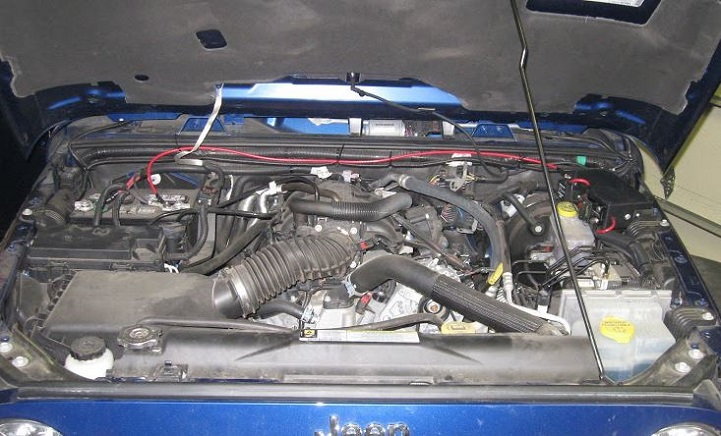
Once you have found a box to mount the fuse block into, you now have the tough job of finding some place that will fit the whole thing under the hood. This can be tricky, but it can be done. If you so choose, the far right corner up by the master cylinder is a spot that this can squeeze into. There is also an existing bolt that can be removed and then re-used to mount your new fuse panel assembly. You may have to create your own bracket, or try to purchase something prefabricated that may work for your outfit.

Figure 4. This particular install used an existing frame bolt in the front corner without too much trouble. 
Figure 5. Using a smaller box will open up more possibilities for other mounting locations, such as this one above the battery.
Step 3 – Add extra protection to your new fuse panel
This is a completely optional step, but the inexpensive cost, few minutes that it takes to add a breaker and a relay to the fuse assembly is a great bit of insurance as well as piece of mind to keep you on the road. On the outside left side of the fuse box is enough area and space to add the optional 70A circuit breaker and 74A relay. The breaker will prevent anything from frying your new fuse panel and the relay will help divvy and control the power draw on the new fuses.
Step 4 – Run #8AWG wire from block
Drill a hole on the front end of the fuse box to allow pass through of the thick wire from the fuse block outside of the box and to the circuit breaker. You'll run another section of this wire from the breaker to the relay. This is going to protect not only the fuses and block, but the smaller gauge wire that runs from your accessory plugs.

Step 5 – Make connections from accessory port to relay
You'll need to open up your dashboard to get access to the accessory port, or cigarette lighter. You will be tapping into the power supply from the lighter and splice in new wire to run to the relay through the firewall. You will want to run at least a 14 gauge wire as your spliced wire and run it back through the dash into your fuse box to finish the connection at the relay.
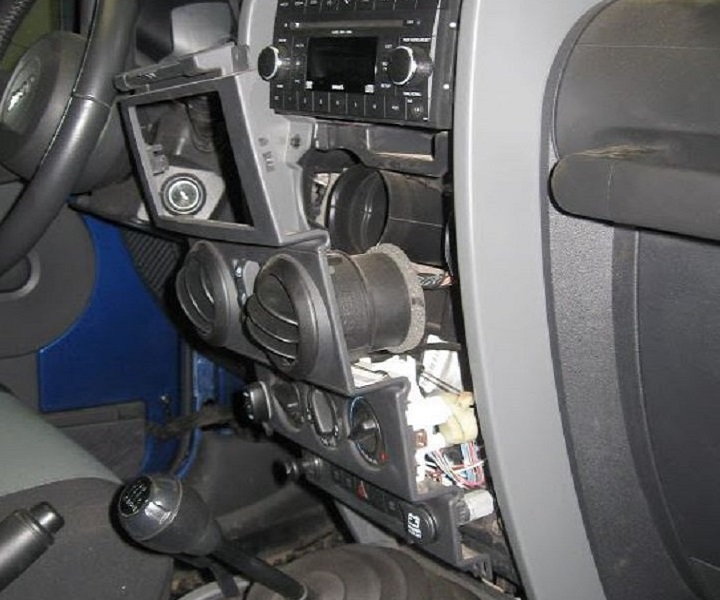
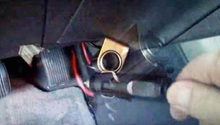
Figure 8. You'll need to open your dash to get access to your accessory plug. 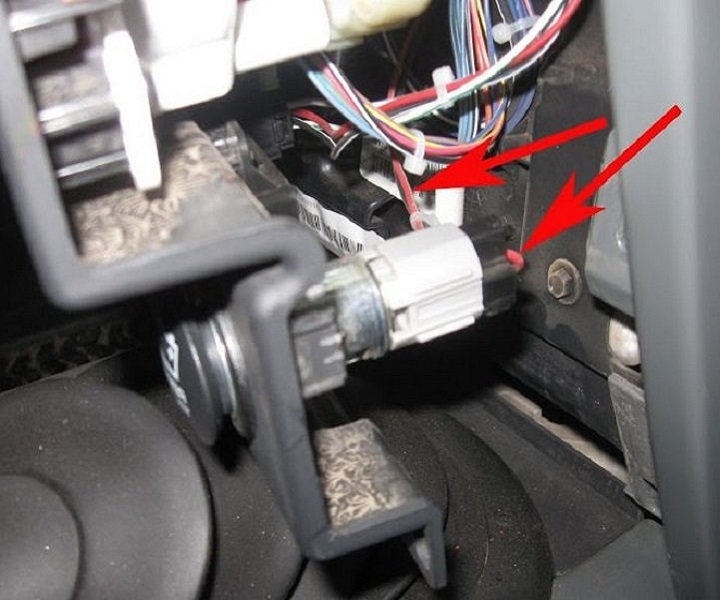
Figure 9. This is the power supply to the cigarette lighter, which you will splice into.
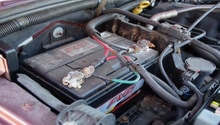
Step 6 – Run final power from battery to fuse box
Use the heavy gauge wire from your battery to the fuse block to power it up. Once all the connections have been terminated, reset the circuit breaker and put the key in the ignition. Use a voltmeter to test the power into the fuse box and each fuse on the block to make sure everything is within the proper range. If it reads good, put the dash back in order and start your Jeep. Make sure no electrical P-codes are present and no other CEL are illuminated. Take her for a test drive. If there are no problems, load your new equipment one by one, so if there's a blown fuse, you can easily identify what caused it and make the necessary corrections.
Featured Video: DIY Relay and Fuse Box
Related Discussions
- DIY Auxiliary Fuse Block & Box - JK-Forum.com
- DIY Fuse and Relay Box - JK-Forum.com
- Newb Question of the Day - Second Fuse Box - JK-Forum.com
- Auxiliary Fuse Box - JK-Forum.com